Create Android Virtual Device
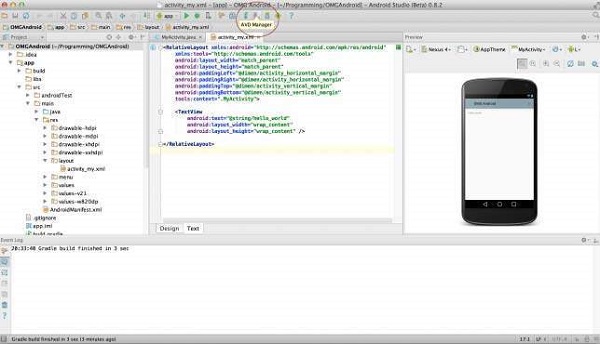
To test your Android applications, you will need a virtual Android device. So before we start writing our code, let us create an Android virtual device. Launch Android AVD Manager Clicking AVD_Manager icon as shown below
After Click on a virtual device icon, it going to be shown by default virtual devices which are present on your SDK, or else need to create a virtual device by clicking Create new Virtual device button
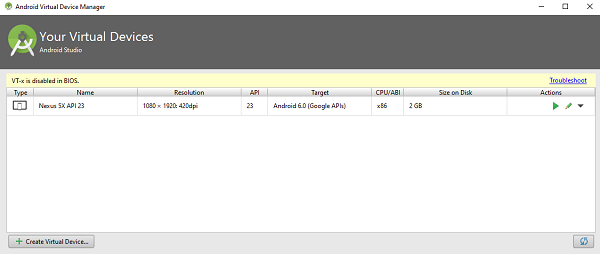
If your AVD is created successfully it means your environment is ready for Android application development. If you like, you can close this window using top-right cross button. Better you re-start your machine and once you are done with this last step, you are ready to proceed for your first Android example but before that we will see few more important concepts related to Android Application Development.
Hello Word Example
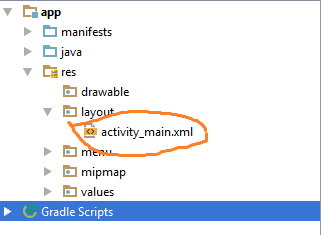
Before Writing a Hello word code, you must know about XML tags.To write hello word code, you should redirect to App>res>layout>Activity_main.xml
To show hello word, we need to call text view with layout ( about text view and layout, you must take references at Relative Layout and Text View ).
<RelativeLayout xmlns:android="http://schemas.android.com/apk/res/android"
   xmlns:tools="http://schemas.android.com/tools" android:layout_width="match_parent"
   android:layout_height="match_parent" android:paddingLeft="@dimen/activity_horizontal_margin"
   android:paddingRight="@dimen/activity_horizontal_margin"
   android:paddingTop="@dimen/activity_vertical_margin"
   android:paddingBottom="@dimen/activity_vertical_margin" tools:context=".MainActivity">

   <TextView android:text="@string/hello_world"
      android:layout_width="550dp"
      android:layout_height="wrap_content" />
</RelativeLayout>
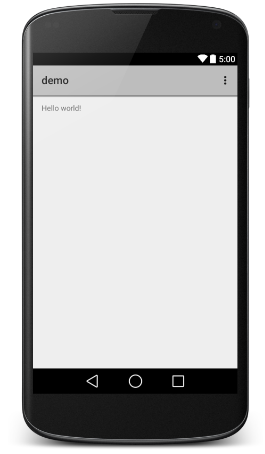
Need to run the program by clicking Run>Run App or else need to call shift+f10key. Finally, result should be placed at Virtual devices as shown below
___________________________________________________________________________________________________

No comments:
Post a Comment